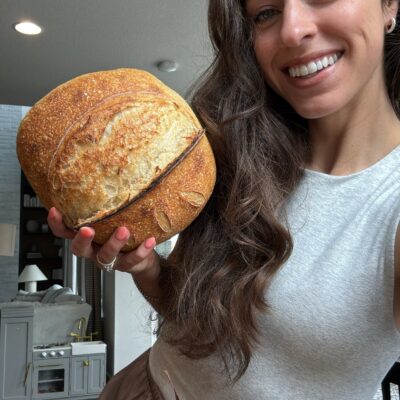
How to make your own sourdough starter
Everything you need to know to make your own sourdough starter in just 7 days !!MY GO TO BEGINNER LOAF
Notes
One of the top questions I get is how to make and tend to your sourdough starter, to make your very own homemade sourdough breads! Which is WAY more than just a traditional sourdough loaf.. if you’ve followed me for a year you know sourdough starter can be the healthy base for literally any baked good, snack and bread! It has completely replaced my store bought bread, tastes 10x better, is more digestible and bioavailable with simpler ingredients and much better nutrients - fueling my body without feeling heavy or bloated or unable to digest! 🤗
Step by step: making your own sourdough starter:
What you need: kitchen scale, glass jar (at least 24-32oz big!), unbleached white flour (a lot!), filtered water, plastic wrap/lid, spatula to stir. All measurements will be in grams.
Day 1: weigh your container and document that weight somewhere so you remember it!mix 50g flour & 50g water in jar until very well combined. Cover with plastic wrap or lid and leave on the counter for 48hrs.
Day 2: stir once about 24hrs since starting just to help encourage the fermentation process, cover and leave on counter.
Day 3: around 24hrs later, weigh container with starter and subtract the weight of the container (that you were supposed to document on day 1🤭) to get the net weight of starter. Example - my container weighed 250grams and now it weighs 350grams so I have 100grams of net starter. Feed your starter 1:1 ratio of flour and water (equal amounts of its net weight) So I’m feeding mine 100grams of flour and 100grams of water since it weighs 100grams. Mix, cover, sit on counter for 24hrs.
Day 4: around 24hrs later, weigh container with starter. If the net weight is over 100grams, discard (or empty) some starter from the container to get it back down to a net 50grams (or somewhere close, doesn’t have to be perfect!) this is only to help you not use up so much flour and water every time you feed it! Save your discard in a jar (SO many easy recipes to use discard!!) or throw it away in trash. Putting it down the sink won’t be good for your drain! Now feed it the same 1:1 flour & water ratio as your final net weight. Mix, cover, keep on counter.
Day 5-7: repeat step 4 every 24ish hours until your starter looks like it grows and doubles in size around 12hrs after feeding it. You can mark your jar with a marker or rubber-band after feeding it to visually see that it has increased in size (doesn’t have to be a perfect double). This means it is active! It should be very bubbly and when you drop a spoonful in water, it should float! This means it is ready to use in a recipe as a natural form of yeast and leavening agent 😍💪
To keep your starter alive, you should feed it a minimum of once a week using the same process above. When you are not baking with it, it can go in the fridge! Just bring it out a few hours before feeding it, waiting 12ish hours for it to become active, and then use it to bake!
Tried this recipe?Let us know how it was!