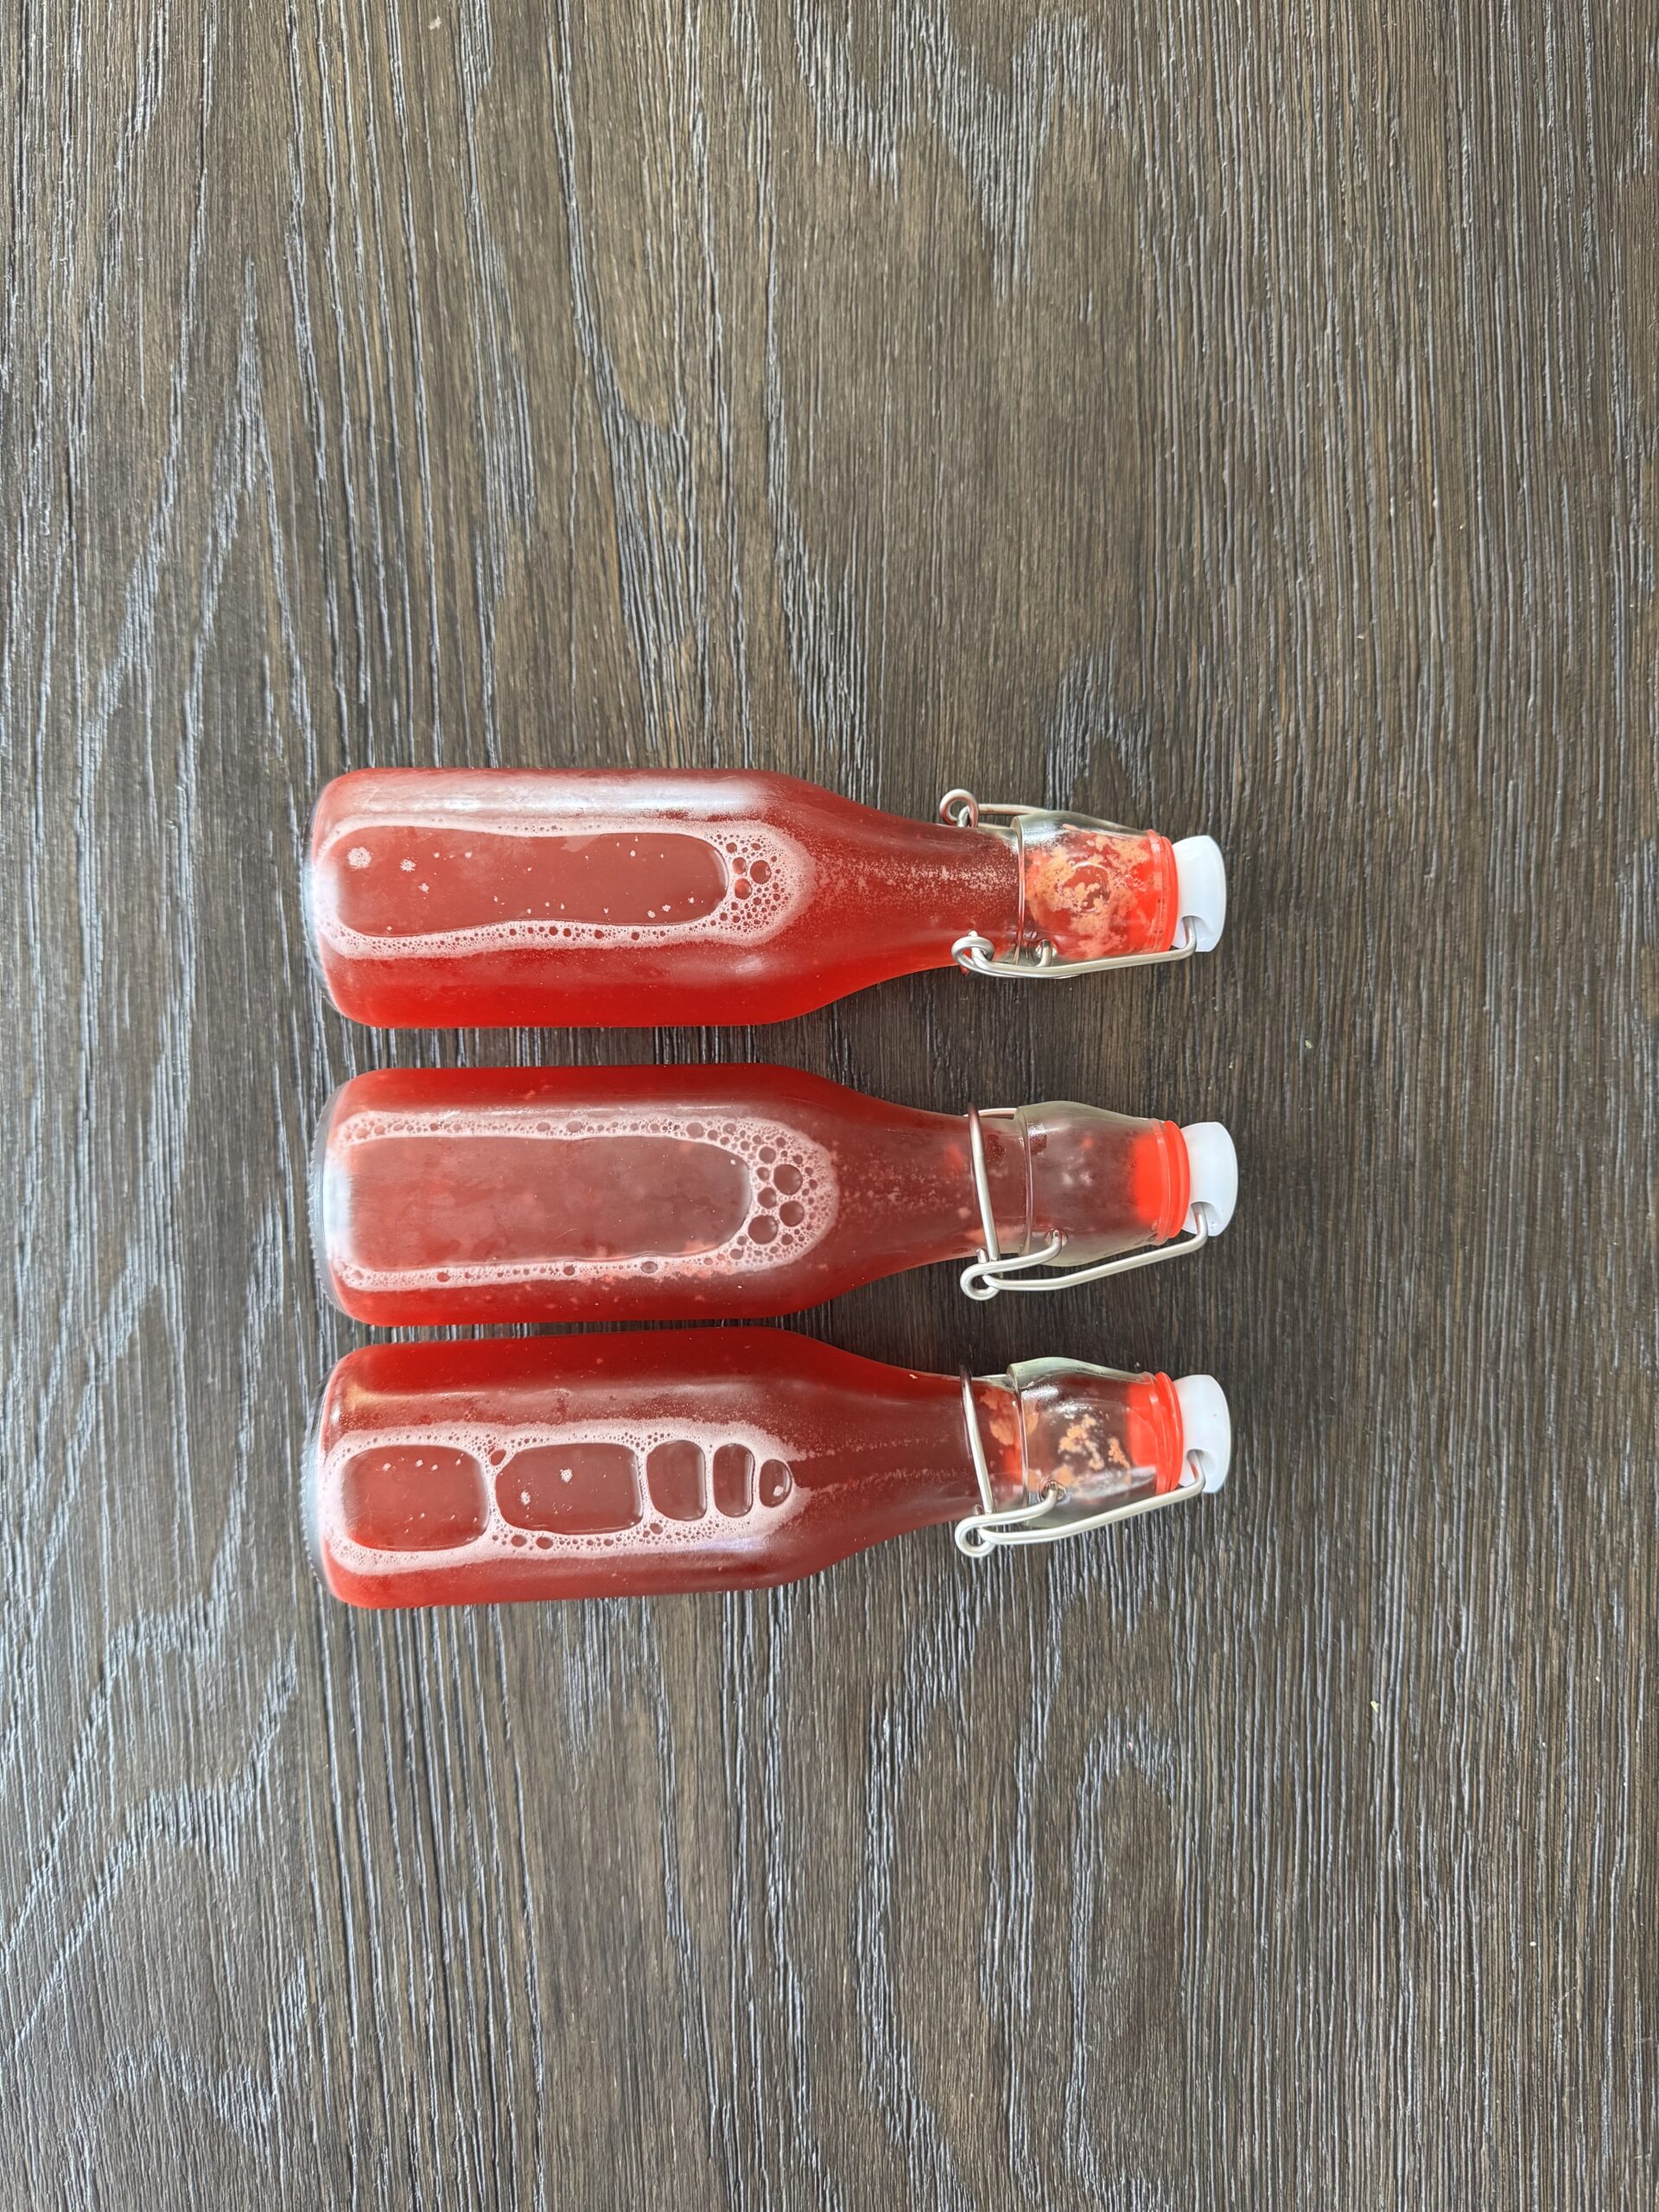


Raspberry Probiotic Soda
Ferment your very own antioxidant probiotic soda with just 3 ingredients and minimal time tending to the fermentation process for the perfect bubbly, microbe loaded sipper!
Equipment
- 1 large wide mouth mason jar for fermenting – 64oz
- 4-6 small flip top bottles – 8oz each
- 1 fermenting mason jar for ginger bug – 16oz
- 1 parchment paper or dish towel
- 1 rubberband
Ingredients
For the Ginger Bug
- 6 tbsp raw organic ginger (divided)
- 6 tbsp white sugar (divided)
- 2 cups filtered water (divided)
For the Probiotic Soda
- ½ cup active ginger bug – instructions below
- 3-4 cups filtered water
- 2 ½ cups frozen raspberries you will thaw to make!
Instructions
STEP ONE: Make a Ginger Bug Starter (about a 4-5 day process that takes just 2 min / day)
DAY 1:
- grab your 16oz mason jar and add 1 cup of filtered water
- add 3tbsp of sugar to filtered water
- Wash and chop 3tbsp worth of your raw organic ginger (keep skin on!) into small bites, add to water/sugar mixture
- stir vigorously for 1 minute to help dissolve the sugar and evenly distribute the ingredients
- Cover mason jar with parchment paper and wrap with a rubber band (you can also just place the flat metal lid but do not seal with screw top!)
- At least once or twice throughout the day give the ginger bug a swirl/stir to mix up the sugars and encourage activation
DAY 2-5:
- Feed your ginger bug around the same time every day by adding 1tbsp of sugar and 1tbsp of freshly chopped ginger. Mix vigorously and swirl/stir at least once later in the day.
- Each day you should start to see your ginger bug get a little cloudy and a foamy layer of bubbles start to form on the top. Once there is a thin, full layer of bubbles (usually between day 4 and 5) your ginger bug is considered "active" and can be used as a starter culture to ferment raspberries into a probiotic soda!
- see note section for how to care for your ginger bug starter ongoing!
STEP TWO: Ferment Soda (about a 2-4 day process and very dependent on the type of juice / fruit you use as how active your starter is) There is no daily maintenance:)
DAY 1 – in the morning:
- To your large 64oz airtight mason jar add 2 1/2 cups of frozen raspberries, close and leave out on the counter to thaw completely, juices and all!
DAY 1 – in the evening:
- To your large 64oz airtight mason jar with thawed raspberries, add 3 cups of filtered water and 1/2 cup of strained active ginger bug (use a fine mesh strainer). It should be filled a couple inches to the top so add more water to get it close to the top. Mix everything until well combined, close airtight lid, store in dark neutral climate for 24hrs.Some people prefer a lose lid again like the ginger bug for this stage of fermentation, but I've personally found more success with an airtight flip top lid – you can play around with what works for you!
DAY 2:
- After 24hrs "burp" your soda by carefully opening the lid and letting any carbon dioxide built up escape so that your bottle doesn't explode:) There may be no bubbles/air to release or you may have tons of bubbles! It really just depends on the health of your ginger bug, type of juice you used and temp of your house. Don't mix/shake your mixture, it may disrupt the fermentation process.
- Close it up and place back on shelf if there are no bubbles, or if it's already really bubbly you can move to step 3 already!
DAY 3:
- before burping your bottle, assess any bubbles forming on the top layer of the soda (even the tiniest bit of bubbles around the rim is a sign that fermentation is working!) Burp and place back on shelf. Or if it's really bubbly you can move to step 3!
DAY 4:
- At this point you should have bubbles on the top (even little ones, it may not be as foamy and bubbly as your ginger bug!) and there may be some white sediment on the bottom of the jar. Do not stir! If you have NO bubbles, don't deem this as a fail! I've had some recipes not produce bubbles but once I bottle them to further carbonate, they still end up fizzy! Every recipe will be different and each fruit reacts differently to the ginger bug. You can go one more day to see if bubbles form but in my opinion day 4 is a good time to bottle so you don't begin creating an alcohol content above 1%
STEP 3: Bottle Soda (this is a 2-3 day process with no daily maintenance)
- Strain all of the liquid into a large pourable measuring cup with a fine mesh strainer to catch the raspberries so you have a clear liquid that can easily funnel into small flip top bottles
- Slowly divide strained mixture into 4-6 8oz flip top soda bottles with a funnel. Close completely
- Let these bottles sit on the shelf for an additional 24hrs if you want to further ferment, This might increase alcohol content slightly and may give a more tangy flavor – which can be yummy! Just up to whatever your tastebuds prefer.
- Otherwise your fermenting is done and you can now build up carbonation in the fridge! Place bottle in the fridge for 2-3 days and enjoy over ice! I typically give mine a little shake before pouring to activate bubbles and mix up any pulp sediment, which are still great to eat! This all depends on how bubbly your soda was during fermentation – be careful not to explode them!
- Consume within 1 month for optimal carbonation and flavor but these can be good for up to 3 months! Use your best judgement on smell and flavor to determine if they are still good
Notes
CARING FOR YOUR GINGER BUG
After you use a portion of your ginger bug as the starter culture for a soda, replace the amount of liquid you used with an equal portion of water (e.g. 1/2 cup ginger bug needs 1/2 water back in the starter culture)
From there you can “hibernate” your starter culture by placing in the fridge and bringing it out whenever you want to create another soda. Just feed it for 1-2 days to bring those bubbles back.
Depending on how often you are feeding your bug and how long you’ve had it, you should take out some of the old ginger sitting on the bottom of the jar (no need to replace what you take out) just keep feeding the same 1:1 ratio of sugar and ginger when you want to activate it
If your bug ever gets slimy or super cloudy, it’s best to just start fresh with a new batch! I’ve found that ginger bug is a little more tedious to maintain that a sourdough culture and you can’t really use it for anything but drinks so if you don’t plan on regularly creating sodas on a weekly basis, maybe just start a fresh ginger bug each time:)
CLEANING YOUR FERMENTING EQUIPMENT
Raw live cultures are easily impacted by environmental factors like temperature, and bacteria so be sure to always have your sodas/cultures covered so dust doesn’t disrupt your fermentation process and always thoroughly clean your bottles/equipment before and after use to maintain and bacteria free enviornment!
Tried this recipe?Let us know how it was!